What is GoPhish?
“Gophish is an open-source phishing toolkit designed for businesses and penetration testers. It provides the ability to quickly and easily setup and execute phishing engagements and security awareness training.”
Why is this small project relevant?
In the midst of learning about loops in Python, the idea of further developing my Email Analysis skills spawned. With this idea fresh in my head I began to scroll through my emails for any potential phishing and spam emails but this proved to be time consuming. I thought to myself, “what If I generate the emails myself” and that’s when I realized that I could send myself phishing emails utilizing GoPhish and analyze them.
Setting Up GoPhish: Phase 1
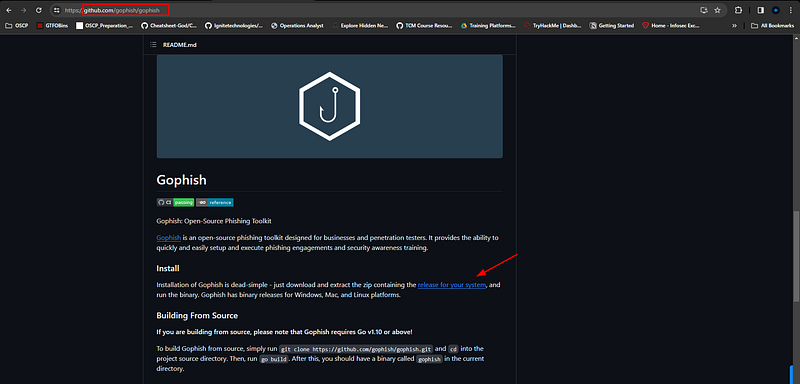
Let’s begin by downloading GoPhish directly from their Github. From here we will click on release for your system which will direct you to the releases page.
Scroll down from here and download the zip file for your relevant OS. I will be downloading the gophish-v0.12.1-windows-64bit.zipand extract all it’s contents onto a dedicated folder.
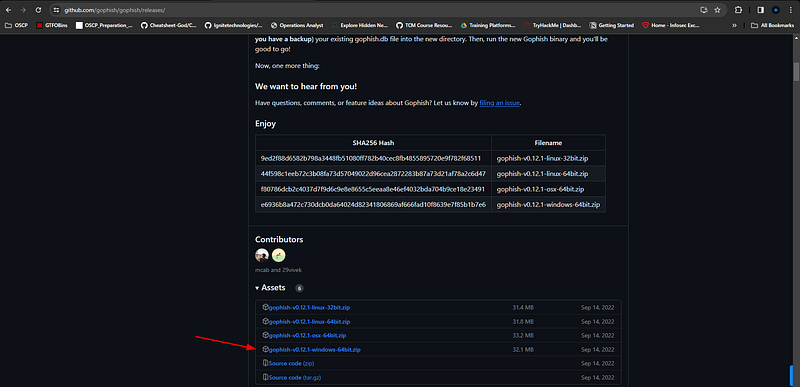
If we wanted to confirm the integrity of the zip file we can compare the SHA256 hash we generate against the hash provided in the GitHub. Below we confirm that the SHA256 hashes are both the same:


Now in our terminal or directly in the folder where you extracted the relevant files, run the gophish.exeexecutable which will run the program and provide us with default admin credentials.
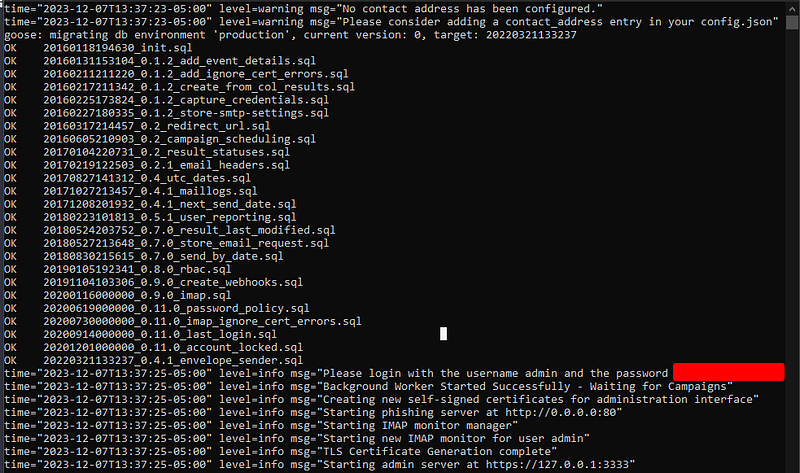
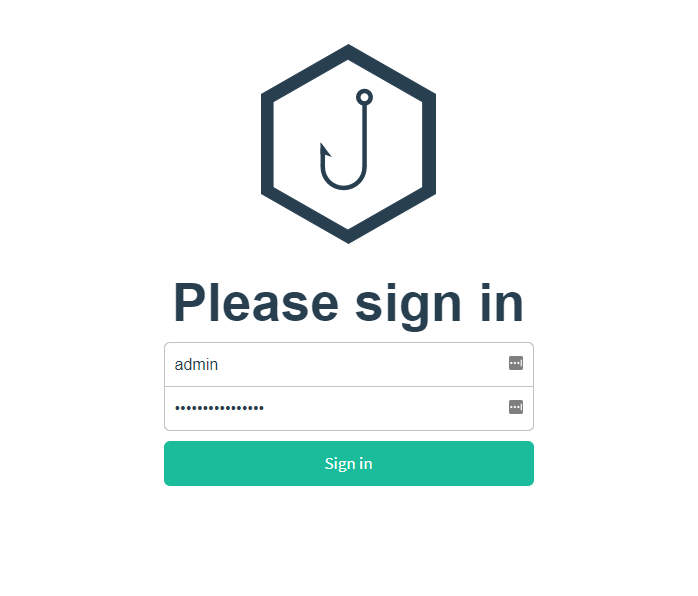
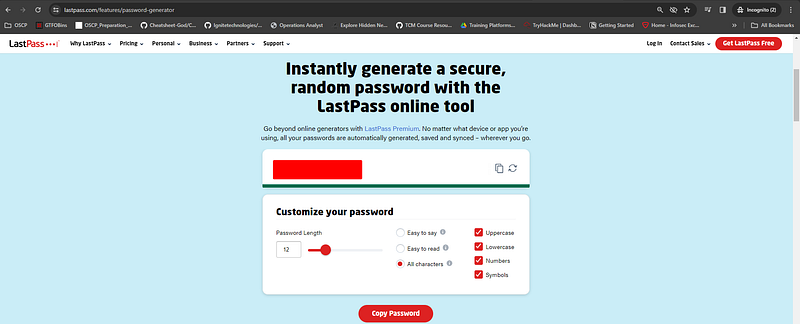
You can access the login portal via 127.0.0.1:3333. Here, you’ll input the default credentials and be prompted to change your password to something more secure or…less secure depending on how you’re feeling lol. For my passwords in this project I used LastPass random password generator.
Setting Up GoPhish: Phase 2
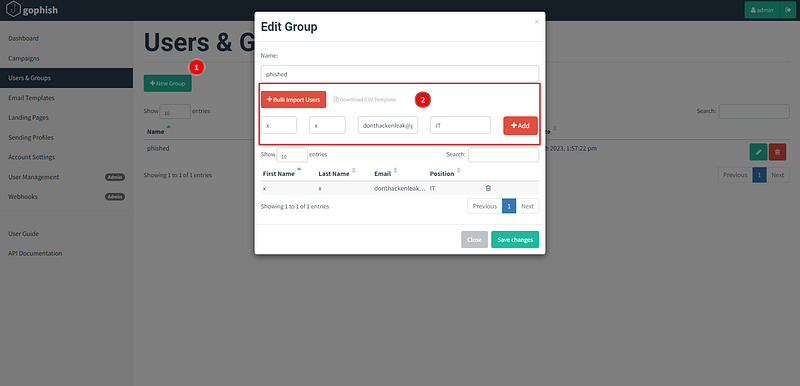
To customize the settings for a specific group of targets or recipients within the campaign we edit the Edit Groupunder the Users & Groups tab. Under the email option I input a test email I created specifically for this project.
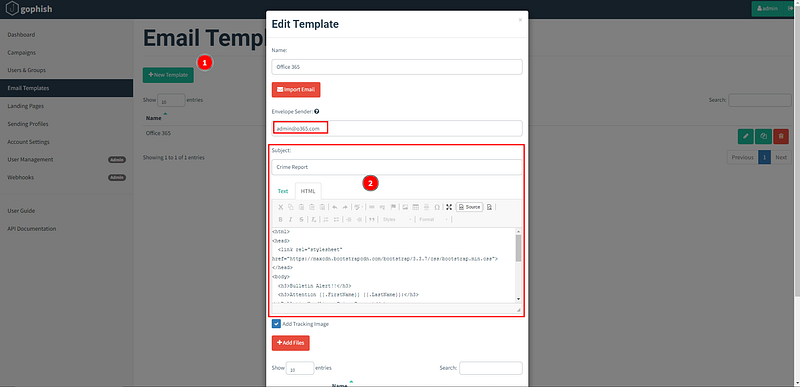
In order to customize the phishing email messages that will be sent to the targets we will edit the Email Template. For the Envelope Sender option I input the admin@o365.com email.
The landing page template can be found in Criggs626 Github page. Copy the HTML and past it into the below:
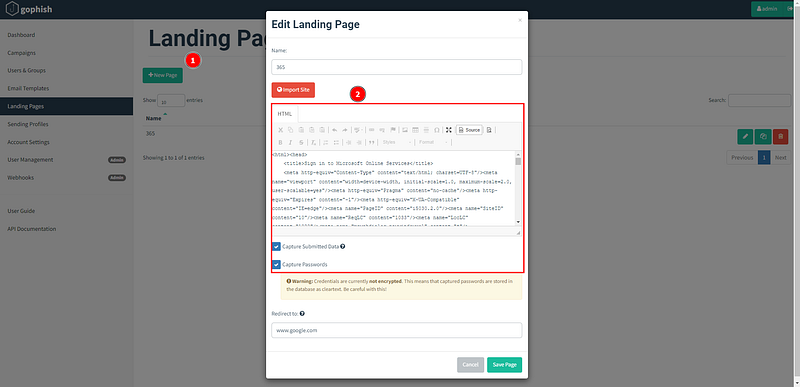
In order to customize the web page that the target will see when they click on the phishing link we will edit the Edit Landing Pageunder the Landing Pagestab.
The landing page template can be found in FreeZeroDays Github page. Copy the HTML and past it into the below:
Setting Up GoPhish: Phase 3
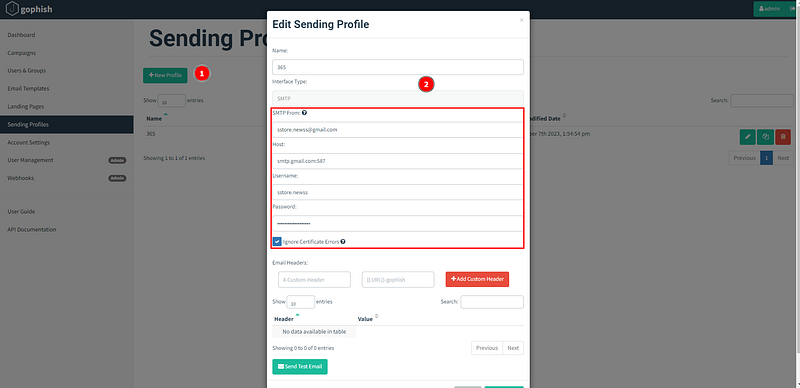
We’ll be creating a new email: sstore.newss@gmail.com. After creating your email then generate an App Passwordwhich will be the password utilized in the step below. Here’s a guide on how to generate an App Password via Gmail: https://support.google.com/mail/answer/185833?hl=en.
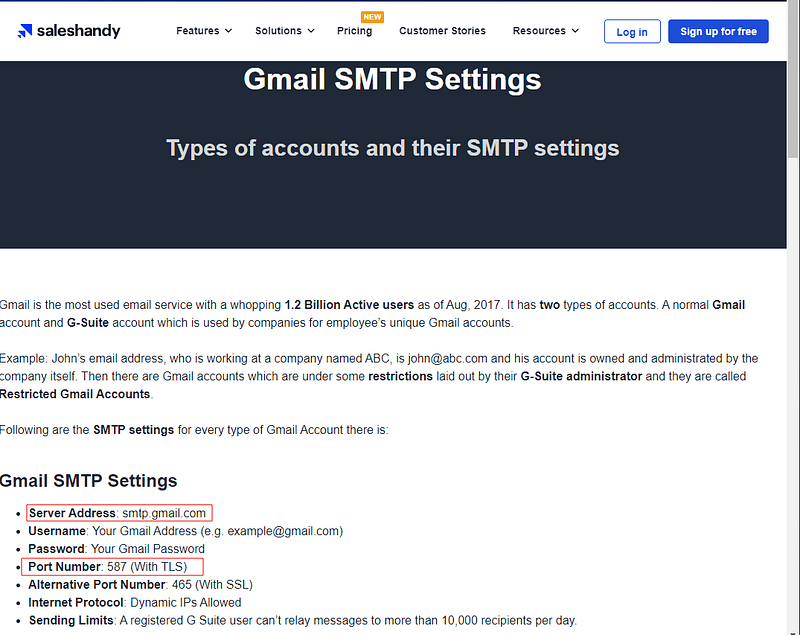
In these configuration settings relating to how emails are sent we will input the Gmail SMTP Server Address: smtp.gmail.com:587 in addition to the email username and password for the sstore.newss@gmail.com email we created for this phishing lab.
To find the Gmail STMP server address let’s go to saleshandy:
Setting Up GoPhish: Phase 4
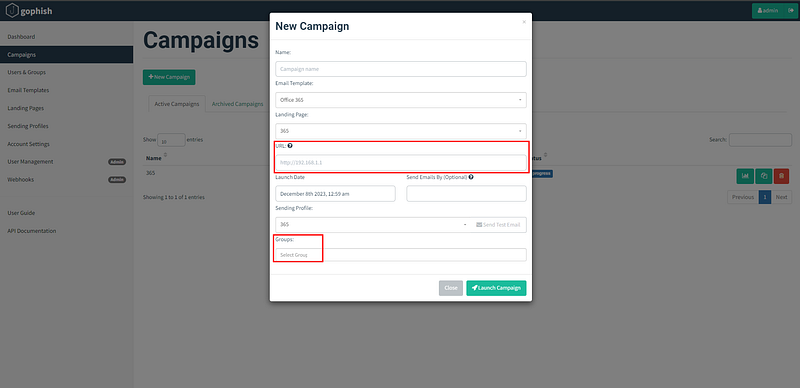
We can create and manage our phishing simulations under the Campaigns tab. When we click on the New Campaigns we’re prompted to provide the Name, Template, Landing Page, Sending Profile ,Groups, and relevant URL. Now we’re ready to launch!!
Phishing Email Confirmation
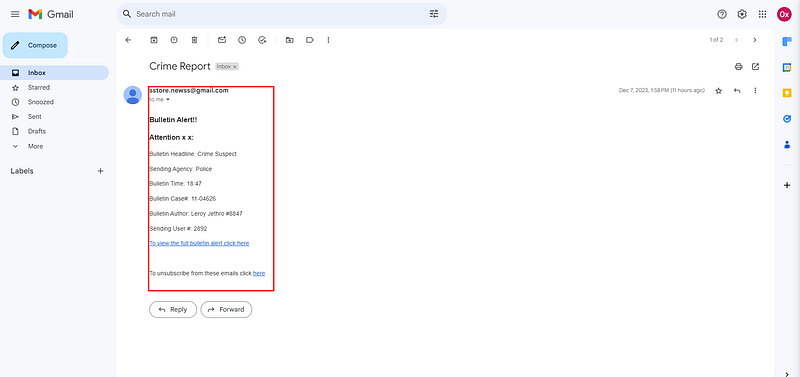
With the launched campaign it does not take long until we see the email populate our inbox at the donthackenleak@gmail.com email. The fake email template is a Crime Report with a link that we are able to click!
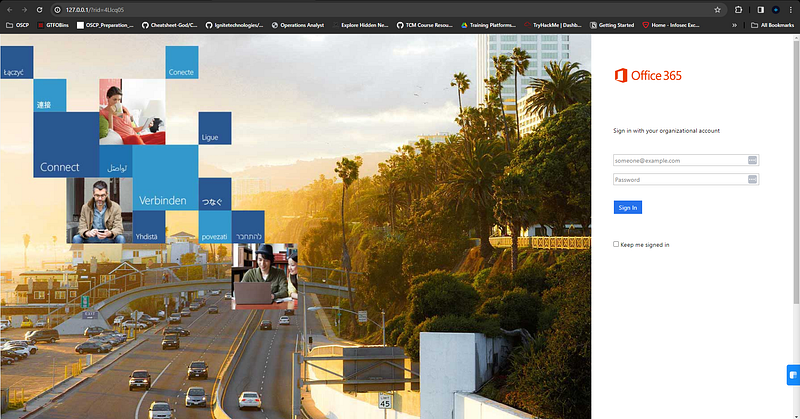
Once we click the link, we are redirected to an Office 365 login portal. Time to do some investigation on the generated phishing email and collect as many artifacts that would be relevant during an investigation.